Installation
Automatic installation
Automatic installation is the easiest option as WordPress handles the file transfers itself and you don’t even need to leave your web browser. To do an automatic install of HoneyBadger.IT, log in to your WordPress admin panel, navigate to the Plugins menu and click Add New.
In the search field type “HoneyBadger.IT” and click Search Plugins. You can install it by simply clicking Install Now. After clicking that link you will be asked if you’re sure you want to install the plugin. Click yes and WordPress will automatically complete the installation. After installation has finished, click the ‘activate plugin’ link.
Manual installation via the WordPress interface
- Download the plugin zip file to your computer
- Go to the WordPress admin panel menu Plugins > Add New
Choose upload - Upload the plugin zip file, the plugin will now be installed
- After installation has finished, click the ‘activate plugin’ link
Manual installation via FTP
- Download the plugin file to your computer and unzip it
- Using an FTP program, or your hosting control panel, upload the unzipped plugin folder to your WordPress installation’s wp-content/plugins/ directory.
- Activate the plugin from the Plugins menu within the WordPress admin.
After installation you will see a new menu item in the WordPress admin sidebar called “HoneyBadger.IT”.
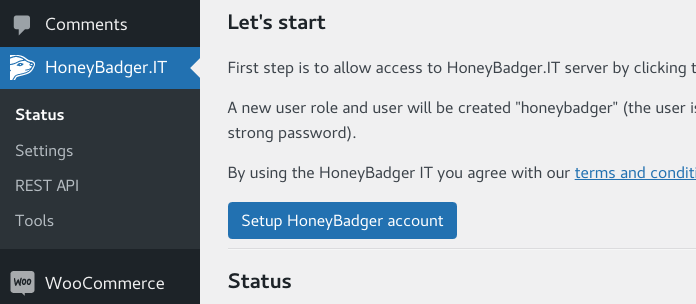
Click the image to enlarge it.